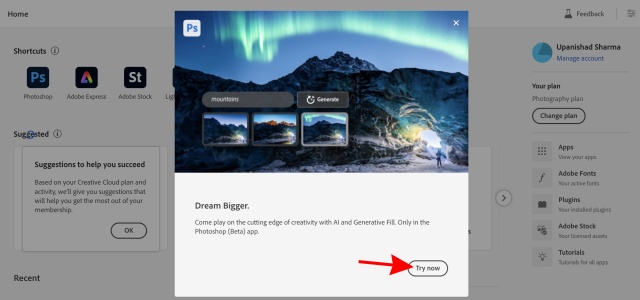
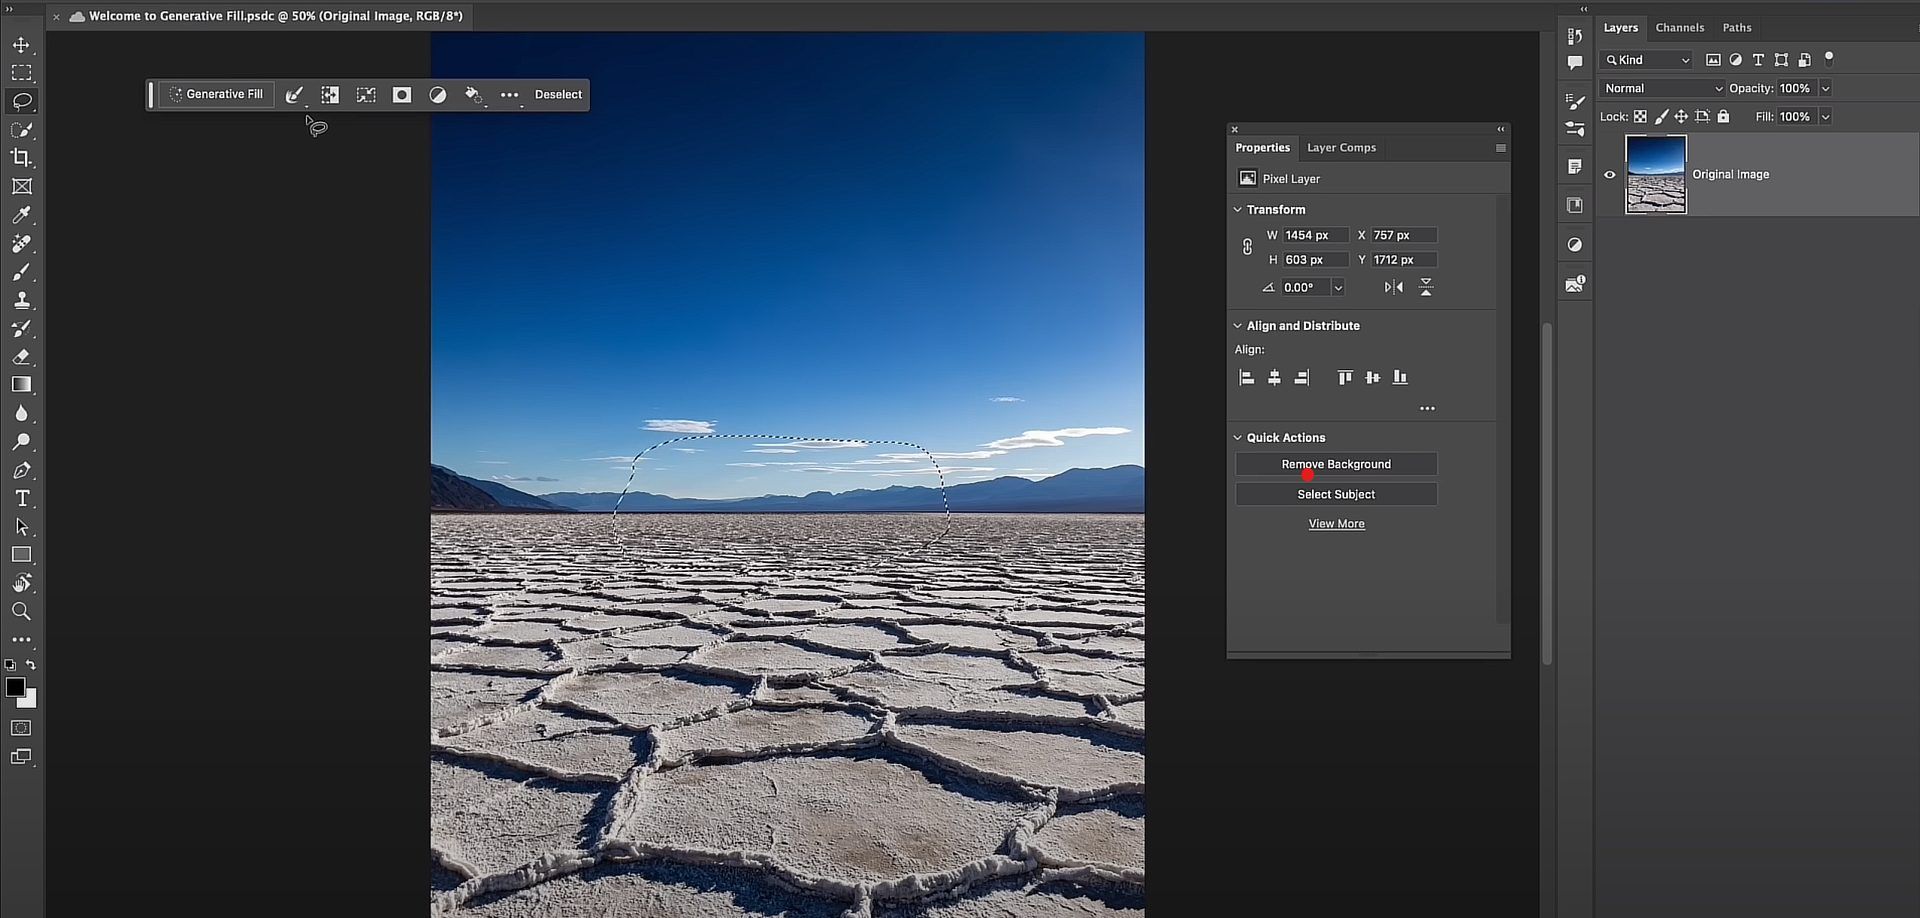
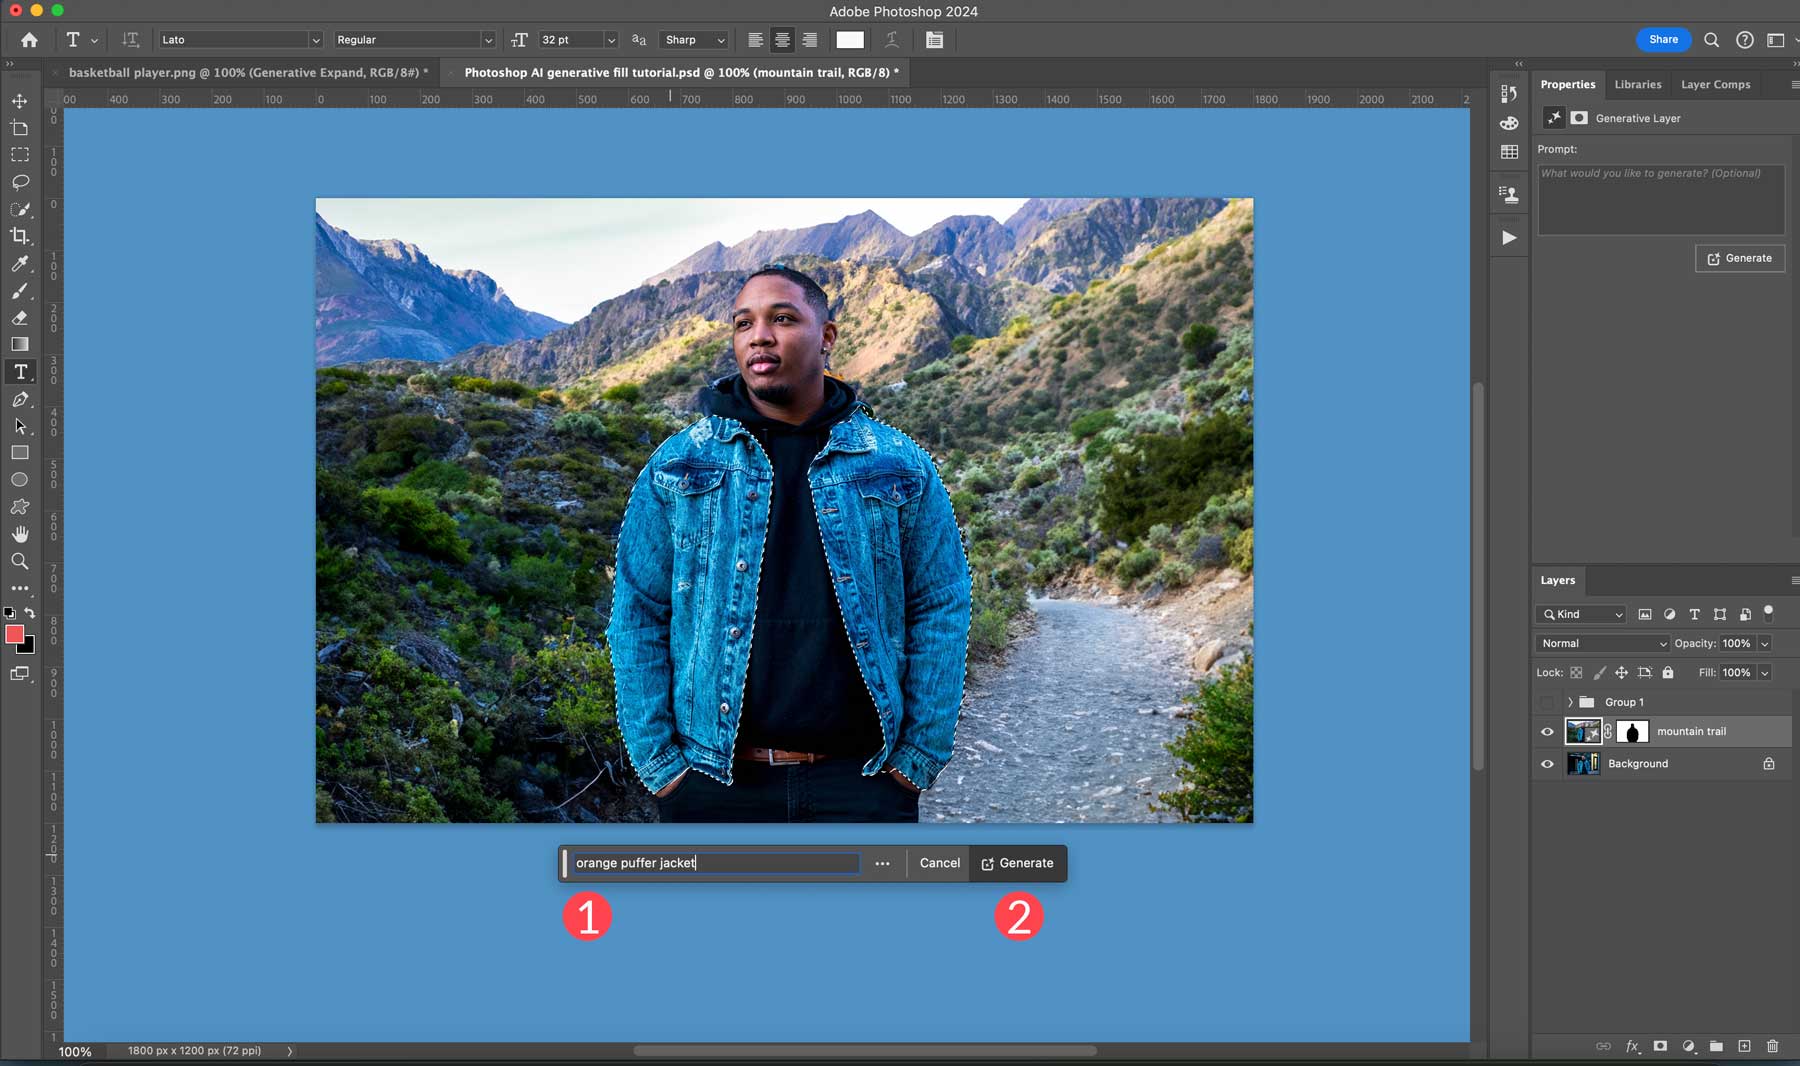
To use Photoshop AI, access the Neural Filters under the Filter menu. Experiment with various filters to enhance your images.
Photoshop AI offers powerful tools to elevate your photo editing skills. The Neural Filters feature utilizes artificial intelligence to simplify complex tasks. These filters can enhance portraits, adjust lighting, and even restore old photos. Photoshop AI makes these adjustments intuitive and efficient.
Users can explore creative possibilities without needing advanced technical skills. This innovation allows for professional-quality edits quickly. Photoshop AI’s capabilities continue to grow, providing more options for users. Adopting these tools can significantly improve productivity and creative output. Whether you’re a beginner or a seasoned pro, Photoshop AI offers valuable enhancements.
Introduction To Photoshop Ai
Photoshop Ai is a game-changer in photo editing. This tool uses artificial intelligence to make edits faster and easier. You can now achieve professional results with just a few clicks. Let’s explore how Photoshop Ai can transform your editing experience.
The Rise Of Ai In Photo Editing
AI technology is growing quickly in many fields. In photo editing, AI simplifies complex tasks. It can identify objects, enhance colors, and even remove backgrounds. This technology helps both beginners and experts. With AI, photo editing becomes more accessible to everyone.
Benefits Of Using Photoshop Ai For Quick Edits
- Time-saving: AI tools speed up the editing process.
- Ease of use: Even beginners can achieve great results.
- Consistency: AI ensures uniform edits across multiple photos.
- Enhanced creativity: AI suggests creative edits you might not think of.
| Feature | Description |
|---|---|
| Object Selection | Quickly select and edit specific objects in a photo. |
| Background Removal | Remove backgrounds with a single click. |
| Color Enhancement | Automatically adjust colors for a better look. |
Using Photoshop Ai, you can transform photos with ease. The AI tools in Photoshop are designed to help you save time and effort. Whether you are a beginner or an expert, Photoshop Ai can make your editing process smoother and more efficient.

Getting Started With Photoshop Ai
Photoshop Ai is a powerful tool for digital creativity. This guide helps you get started efficiently. You will learn about system requirements, installation, and interface navigation.
System Requirements And Installation
Ensure your system meets the needed specifications. Below are the minimum requirements:
| Component | Requirement |
|---|---|
| Operating System | Windows 10 (64-bit) or macOS 10.15 |
| Processor | Intel Core i5 or higher |
| RAM | 8 GB (16 GB recommended) |
| Graphics Card | 2 GB GPU VRAM |
| Storage | 4 GB of available space |
Follow these steps to install Photoshop Ai:
- Visit the official Adobe website.
- Download the Photoshop Ai installer.
- Run the installer and follow on-screen instructions.
- Launch Photoshop Ai after installation completes.
Navigating The Interface
Once installed, open Photoshop Ai. You will see the main interface.
The interface has several key sections:
- Menu Bar: Located at the top. Access various tools and settings here.
- Toolbar: Located on the left. Contains essential tools like brush, eraser, and selection tools.
- Layers Panel: Found on the right. Manage layers and effects here.
- Properties Panel: Also on the right. Adjust properties of selected layers or tools.
Understanding these sections helps you work efficiently. Spend some time exploring each part. Familiarize yourself with the tools and options available.
Essential Tools In Photoshop Ai
Photoshop Ai offers a range of tools that make editing easy. Learning these tools can enhance your projects. This section covers the most important ones. Understanding these tools will make your work efficient and professional.
Understanding Layers And Masks
Layers and masks are fundamental in Photoshop Ai. They allow you to separate different elements of your project. This way, you can edit each part without affecting others.
Layers are like transparent sheets stacked on top of each other. Each layer can hold a different image or part of an image. You can move and edit them independently.
Masks help you hide parts of a layer. They are non-destructive, meaning you can undo changes easily. Masks let you blend images smoothly.
| Tool | Function |
|---|---|
| Layers | Separate different elements |
| Masks | Hide parts of a layer |
Exploring The Toolbar Essentials
The toolbar in Photoshop Ai is packed with useful tools. Each tool serves a unique purpose. Here are some essential ones:
- Move Tool: Moves layers and selections.
- Brush Tool: Paints on your image.
- Erasure Tool: Removes parts of a layer.
- Magic Wand Tool: Selects areas of similar color.
- Text Tool: Adds text to your image.
These tools are easy to use. They help make your edits precise and professional. Mastering them can elevate your Photoshop skills.
| Tool | Use |
|---|---|
| Move Tool | Move layers |
| Brush Tool | Paint on image |
| Erasure Tool | Remove parts |
| Magic Wand Tool | Select similar colors |
| Text Tool | Add text |
Ai-powered Editing Features
Photoshop AI brings powerful tools to your fingertips. These tools can make photo editing simple and fun. Let’s explore some of these amazing AI-powered features.
Content-aware Fill And Adjustments
The Content-aware fill tool helps to remove unwanted objects from photos. This tool uses AI to fill in the gaps seamlessly. It matches the surrounding texture, color, and lighting.
- Select the object you want to remove.
- Choose Content-aware fill from the menu.
- Photoshop AI will fill the space intelligently.
Adjustments are also made easy with AI. The tool can adjust brightness, contrast, and color balance. These adjustments make your photos look professional.
Using Neural Filters For Advanced Effects
Neural filters are another exciting feature of Photoshop AI. These filters can change a photo in amazing ways.
Some popular neural filters include:
- Skin Smoothing: This filter makes skin look smooth and clear.
- Style Transfer: Apply the style of famous paintings to your photos.
- Colorize: Turn black-and-white photos into vibrant color images.
To use neural filters, follow these steps:
- Go to the Filter menu.
- Select Neural Filters.
- Choose the filter you want to apply.
Neural filters make your photos stand out with a few clicks.
Streamlining Workflow With Actions
Photoshop AI makes work easier with Actions. Actions automate repetitive tasks. This saves time and effort. Learn how to streamline your workflow with Actions.
Creating And Managing Actions
Creating Actions in Photoshop is simple. Follow these steps:
- Open the Actions panel from the Window menu.
- Click the New Action button.
- Name your Action and press Record.
- Perform the steps you want to automate.
- Click the Stop button when done.
Managing Actions is also easy. You can:
- Edit an Action by double-clicking it.
- Reorder Actions by dragging them.
- Delete Actions with the trash icon.
Batch Processing With Actions
Batch Processing allows applying Actions to multiple files:
- Go to File > Automate > Batch.
- Choose the Action you want to use.
- Select the Source folder of your images.
- Choose a Destination folder for saved files.
- Click OK to start the batch process.
Batch Processing is useful for:
- Resizing many images at once.
- Applying the same filter to multiple files.
- Converting image formats in bulk.
Use Photoshop Actions to save time. Automate your tasks and boost productivity!

Retouching Photos Like A Pro
Retouching photos can transform an image from ordinary to stunning. Photoshop AI helps you achieve professional results with ease. This guide will show you how to use AI for advanced skin smoothing and removing objects or imperfections.
Advanced Skin Smoothing Techniques
Advanced skin smoothing can make a model look flawless. Photoshop AI offers powerful tools for this task. Follow these simple steps:
- Open the photo in Photoshop.
- Go to the Filter menu and select Neural Filters.
- Enable the Skin Smoothing filter.
- Adjust the Blur and Smoothness sliders to your liking.
- Click OK to apply the changes.
These steps will smooth the skin without losing important details. Always review the final result to ensure it looks natural.
Removing Objects And Imperfections With Ai
Removing unwanted objects or imperfections is easy with Photoshop AI. Here’s how you can do it:
- Open the image in Photoshop.
- Select the Spot Healing Brush Tool from the toolbar.
- Set the brush size to fit the imperfection.
- Click on the area you want to remove. Photoshop AI will automatically fix it.
For larger objects, follow these steps:
- Use the Lasso Tool to draw around the object.
- Go to Edit > Content-Aware Fill.
- Photoshop AI will fill the area seamlessly.
- Click OK to apply the changes.
These tools make removing objects quick and easy. Experiment with different settings to get the best results.
Color Correction With Photoshop Ai
Photoshop AI makes color correction easy. It helps adjust colors quickly. AI tools bring out the best in your photos. Let’s explore how to master color balance and enhance colors selectively.
Mastering The Color Balance
Color balance ensures your photo looks natural. Photoshop AI helps adjust colors perfectly. Follow these steps for perfect color balance:
- Open your photo in Photoshop.
- Click on Filter in the top menu.
- Select Neural Filters.
- Choose the Colorize filter.
- Adjust the sliders for shadows, midtones, and highlights.
Using AI, you can correct colors with ease. The AI understands the color context. It adjusts colors to look natural and vibrant.
Selective Color Enhancement Using Ai
Selective color enhancement focuses on specific colors. This makes certain colors pop. Follow these steps to enhance colors selectively:
- Open your photo in Photoshop.
- Click on Filter in the top menu.
- Select Neural Filters.
- Choose the Color Transfer filter.
- Select a style or image to transfer the color from.
AI will apply the selected colors to your photo. This makes your photo more vibrant and eye-catching. You can adjust the intensity of the enhancement as needed.
Exporting And Sharing Your Work
After creating your masterpiece in Photoshop AI, the next step is exporting and sharing your work. This section will guide you on how to optimize images for web and print, and how to share directly to social media platforms.
Optimizing Images For Web And Print
Optimizing images ensures they look great on any platform. Whether for web or print, follow these steps:
-
Web: Use
File > Export > Save for Web (Legacy). Choose JPEG for photos and PNG for graphics. -
Print: Select
File > Export > Export As. Choose TIFF or PDF for high-quality prints.
For web, ensure the resolution is 72 dpi. This keeps file sizes small. For print, use 300 dpi for crisp images.
Color Profiles are important too. Use sRGB for web and CMYK for print.
Sharing Directly To Social Media Platforms
Sharing your work to social media is easy with Photoshop AI. Follow these steps:
-
Go to
File > Share. - Choose the platform: Facebook, Twitter, or Instagram.
- Add your caption and tags.
- Click Share.
Ensure your images are the right size for each platform. Here’s a quick guide:
| Platform | Image Size |
|---|---|
| 1200 x 630 pixels | |
| 1024 x 512 pixels | |
| 1080 x 1080 pixels |
Alt Text is also crucial for accessibility and SEO. Add descriptive alt text to your images.
Troubleshooting Common Issues
Using Photoshop AI can be exciting and rewarding. But you may encounter some issues. Understanding how to fix these problems is essential. This section provides solutions to common errors. It also offers resources and support options.
Fixing Common Errors In Photoshop Ai
Photoshop AI sometimes shows errors. Here are some common problems and their fixes.
| Error | Solution |
|---|---|
| Program crashes | Update to the latest version |
| Slow performance | Close other applications |
| Tool not working | Reset tool settings |
| File won’t open | Check file compatibility |
Where To Find Resources And Support
If you need more help, many resources are available. Here are some options:
- Adobe Support: Visit the official Adobe support page.
- Online Forums: Join forums like Reddit or Adobe Community.
- Tutorials: Watch video tutorials on YouTube.
- Documentation: Read the official Photoshop documentation.
These resources can help you solve many issues. Always keep your software updated. This ensures you have the latest fixes and features.

Future Of Ai In Photo Editing
The future of AI in photo editing looks promising. AI tools like Photoshop AI are revolutionizing how we edit photos. They make tasks faster and more efficient. Let’s explore emerging trends and how to stay updated with these advancements.
Emerging Trends And Technologies
New technologies are changing photo editing. Photoshop AI uses smart algorithms to enhance images. Here are some emerging trends:
- Automated Object Removal: AI can remove unwanted objects from photos. This saves time and effort.
- Colorization: AI can turn black-and-white photos into color. This process is quick and accurate.
- Face Recognition: AI can detect faces in photos. It can also enhance facial features.
These trends show how AI is making photo editing easier. They offer more creative possibilities for everyone.
How To Stay Updated With Photoshop Ai Advancements
Staying updated with Photoshop AI is crucial. Here are some tips to help you:
- Follow Adobe’s Official Blog: Adobe shares updates and tutorials regularly.
- Join Online Forums: Communities discuss the latest AI tools and features.
- Take Online Courses: Many platforms offer courses on Photoshop AI.
- Subscribe to Newsletters: Get the latest news and updates delivered to your inbox.
These steps will help you stay ahead in the world of photo editing. Embrace these tools to enhance your skills and creativity.
Frequently Asked Questions
How To Access Photoshop Ai?
To access Photoshop AI, open Photoshop and navigate to the “Neural Filters” under the “Filter” menu. Select and download the desired AI filters.
How Is Ai Used In Photoshop?
AI in Photoshop enhances image editing with tools like Content-Aware Fill, Neural Filters, and automated object selection. These features save time and improve accuracy.
How To Photoshop Generative Fill?
To use Photoshop’s generative fill, select the area, right-click, and choose “Fill. ” Select “Content-Aware” for automatic filling.
How To Use Ai File In Photoshop?
Open Photoshop. Go to File > Open. Select the AI file. Choose “Convert Layers to Objects” in the dialog box. Click OK.
Conclusion
Mastering Photoshop AI can elevate your design skills. Practice regularly to unlock its full potential. Use tutorials and resources to stay updated. Integrating AI tools can streamline your workflow and boost creativity. Start experimenting with Photoshop AI today and transform your projects with ease and efficiency.


